For those of you who wanted a bit more information about how to make the art journals. I have taken some pictures of the insides of all three journals. Each one is unique in that we all wanted our journals for different reasons. To begin, we started with sets of different scraps of fabric (the fronts and backs of the material didn’t match). We sewed the sets of material together and left one side open for the stuffing. It worked best for us to make the pillow for the spine of the book first, because then all of the other pillows could be adjusted to the size we needed for the overall book. After stuffing each pocket, each one was made into a mini pillow.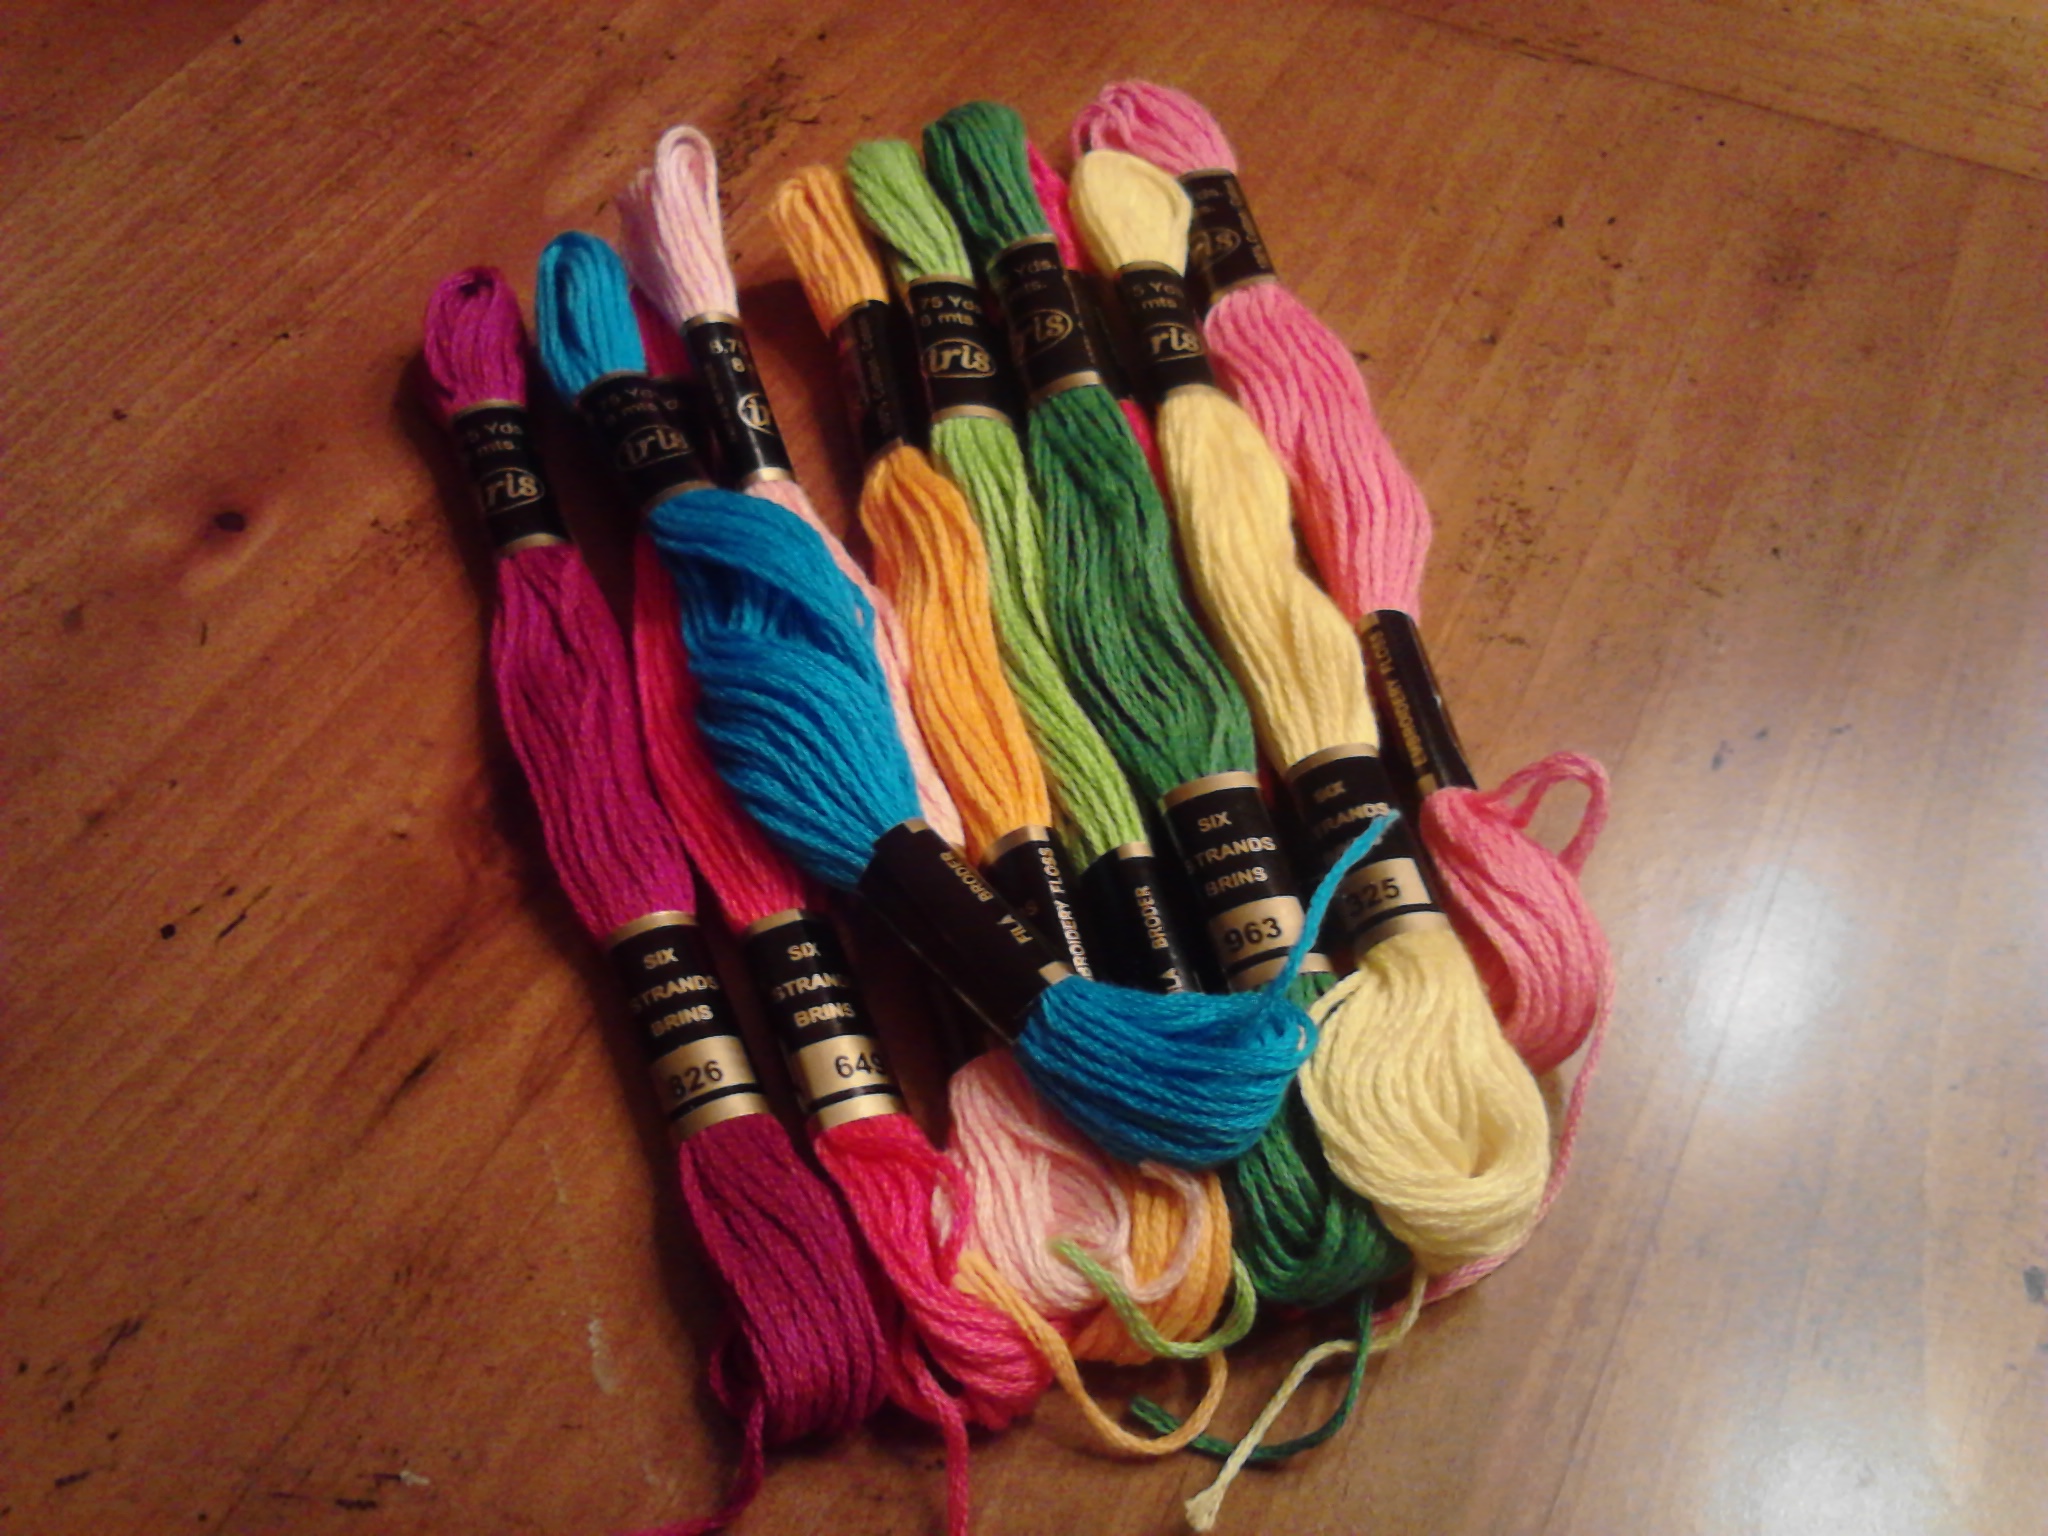 After all of the pillows were made, (mine had 17 pillows total) we embroidered each pillow the way that we wanted to, using unseperated DMC floss. This is the longest part of the whole process, but it’s also the part that is the most fun, because you get to be really creative and make whatever patterns or pictures that you want on your pillows. The next part goes pretty fast and involves sewing all of the pillows together in the order that you want them.
  It’s kind of like putting a puzzle together. It took us several different tries before we got the layouts the way that we wanted them. Once they were all sewn together, we ended up with this. Then we proceeded to add the fun details, like snaps, buttons, ribbon, etc. to really make the journals our own unique creation.
  Amy added snaps to her journal since she had some overlapping fabric that stuck out too far. She ended up putting snaps on the front and the back and then added a ribbon to keep her journal securely closed. Her little mistake actually enhanced the look of her journal and made it even better in the end. I chose to used a button closure on my journal and Brianna decided to leave hers open and not put any type of closure on hers at all. To finish, we added the paper to our journals. Amy wanted to use her journal for writing, so we use lined paper for hers and sewed rings onto the inside spine to hold the paper.
 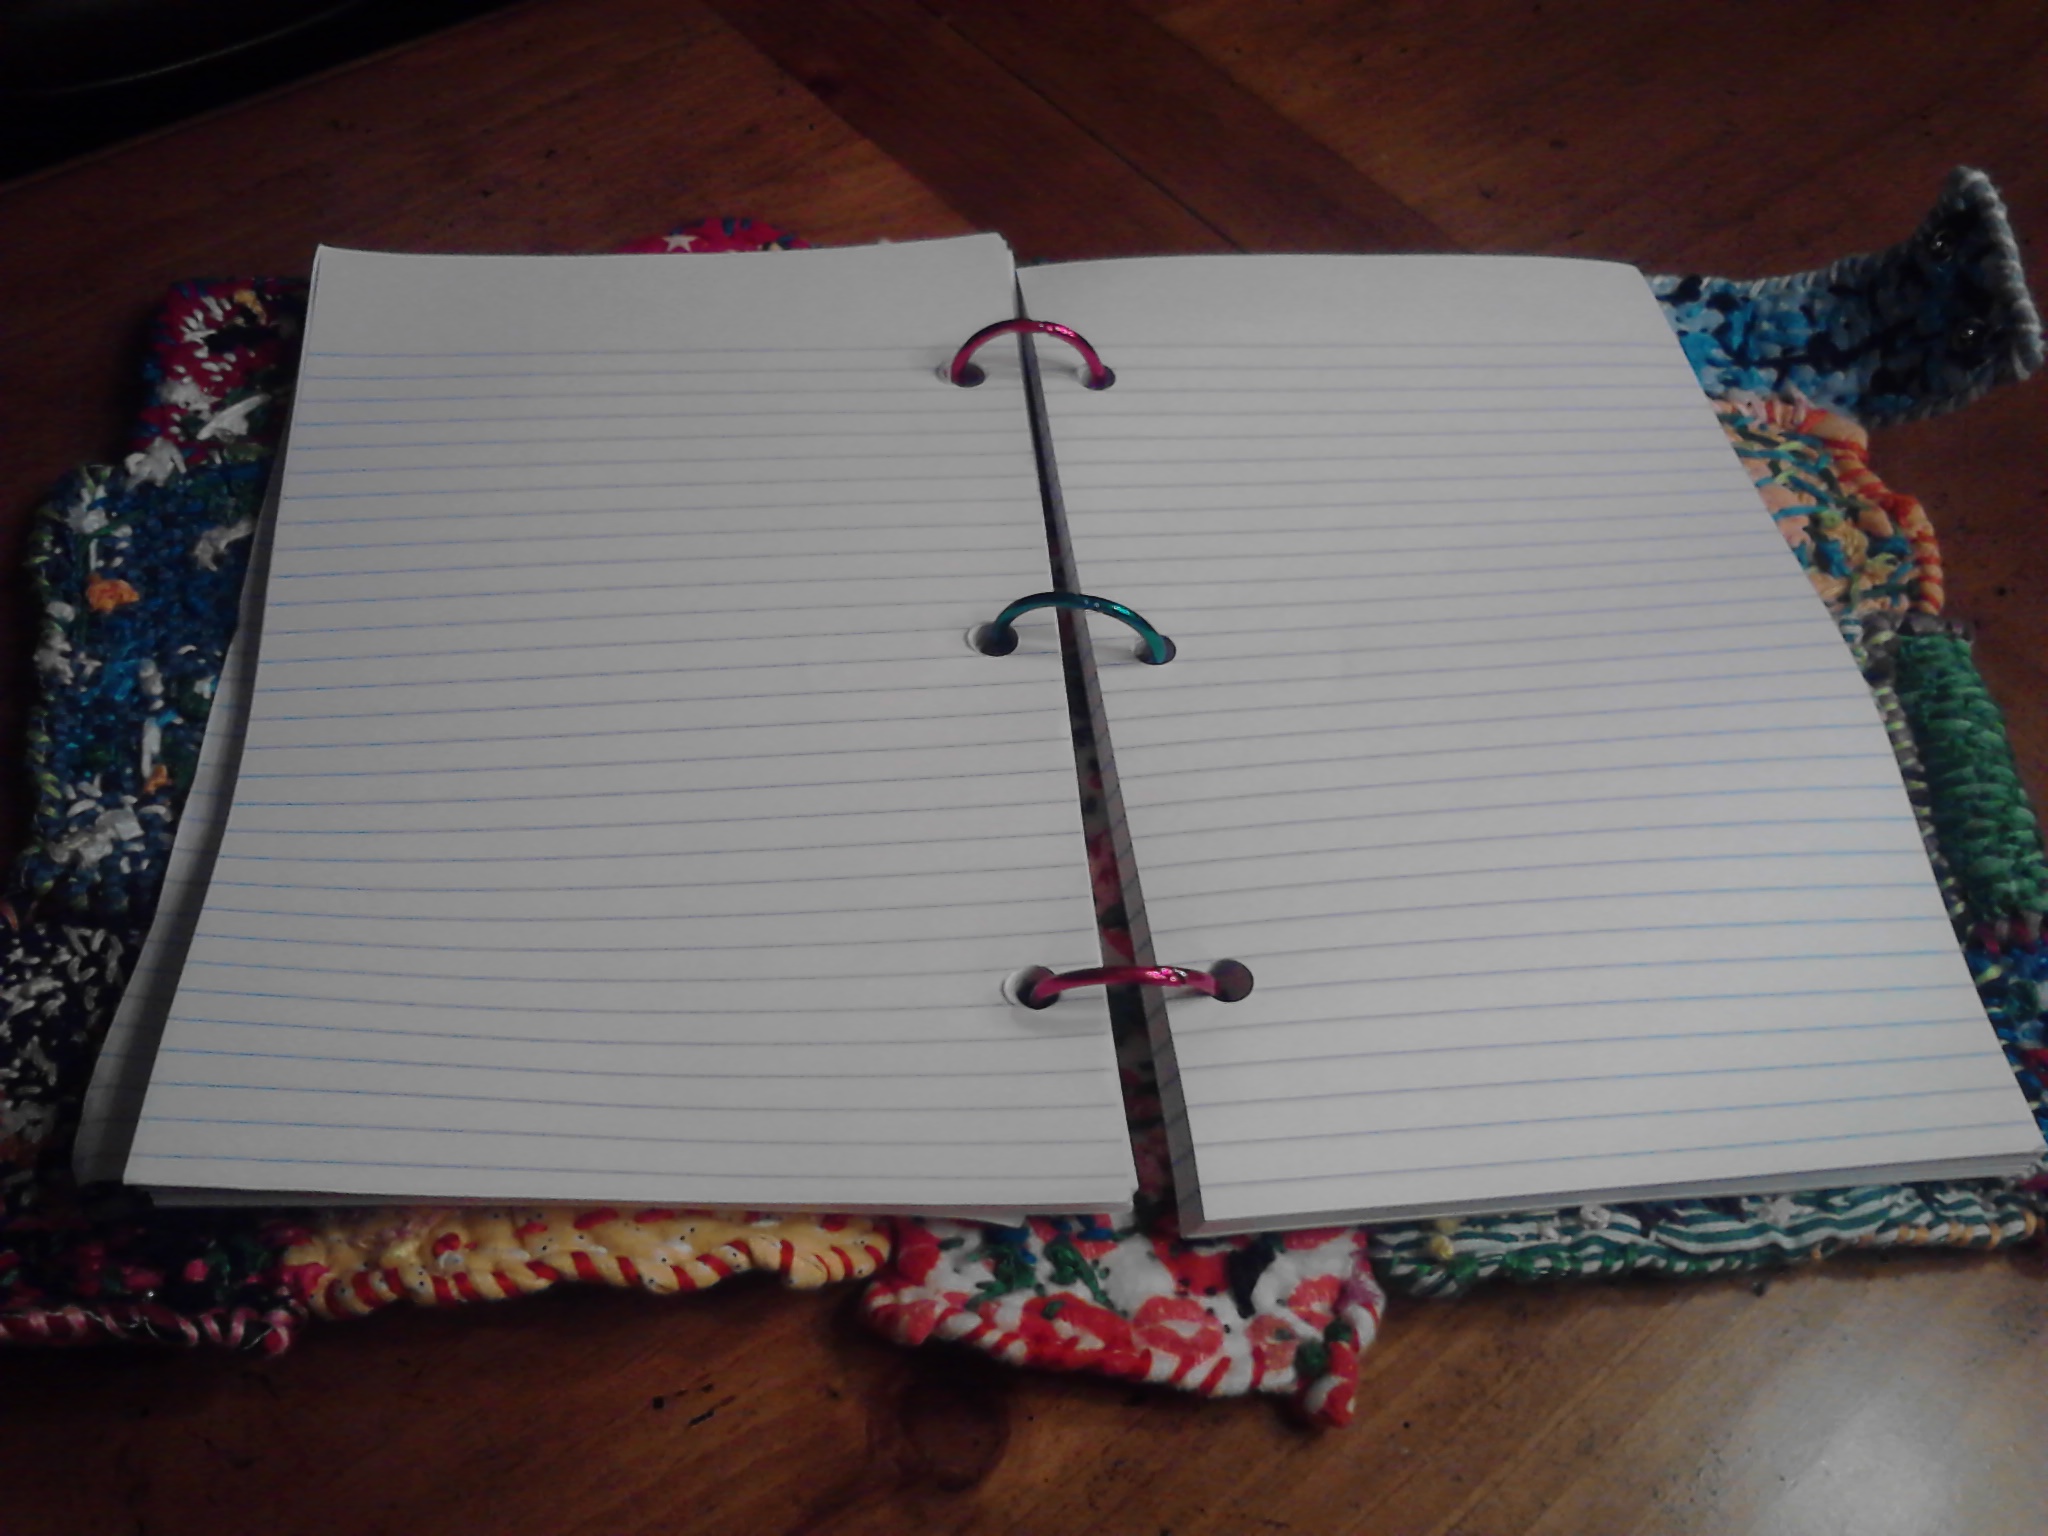 I used heavy multimedia paper for mine, since I wanted to use mine for painting.
  I decided to sew my pages into the spine by taking approximately five pieces of paper at a time, folding them in half, and then sewed down the middle of each stack to attach them to the inside. I used an awl for making the holes in the paper before sewing them in and it worked beautifully! Brianna chose a lighter drawing paper for her journal because she likes to draw.
 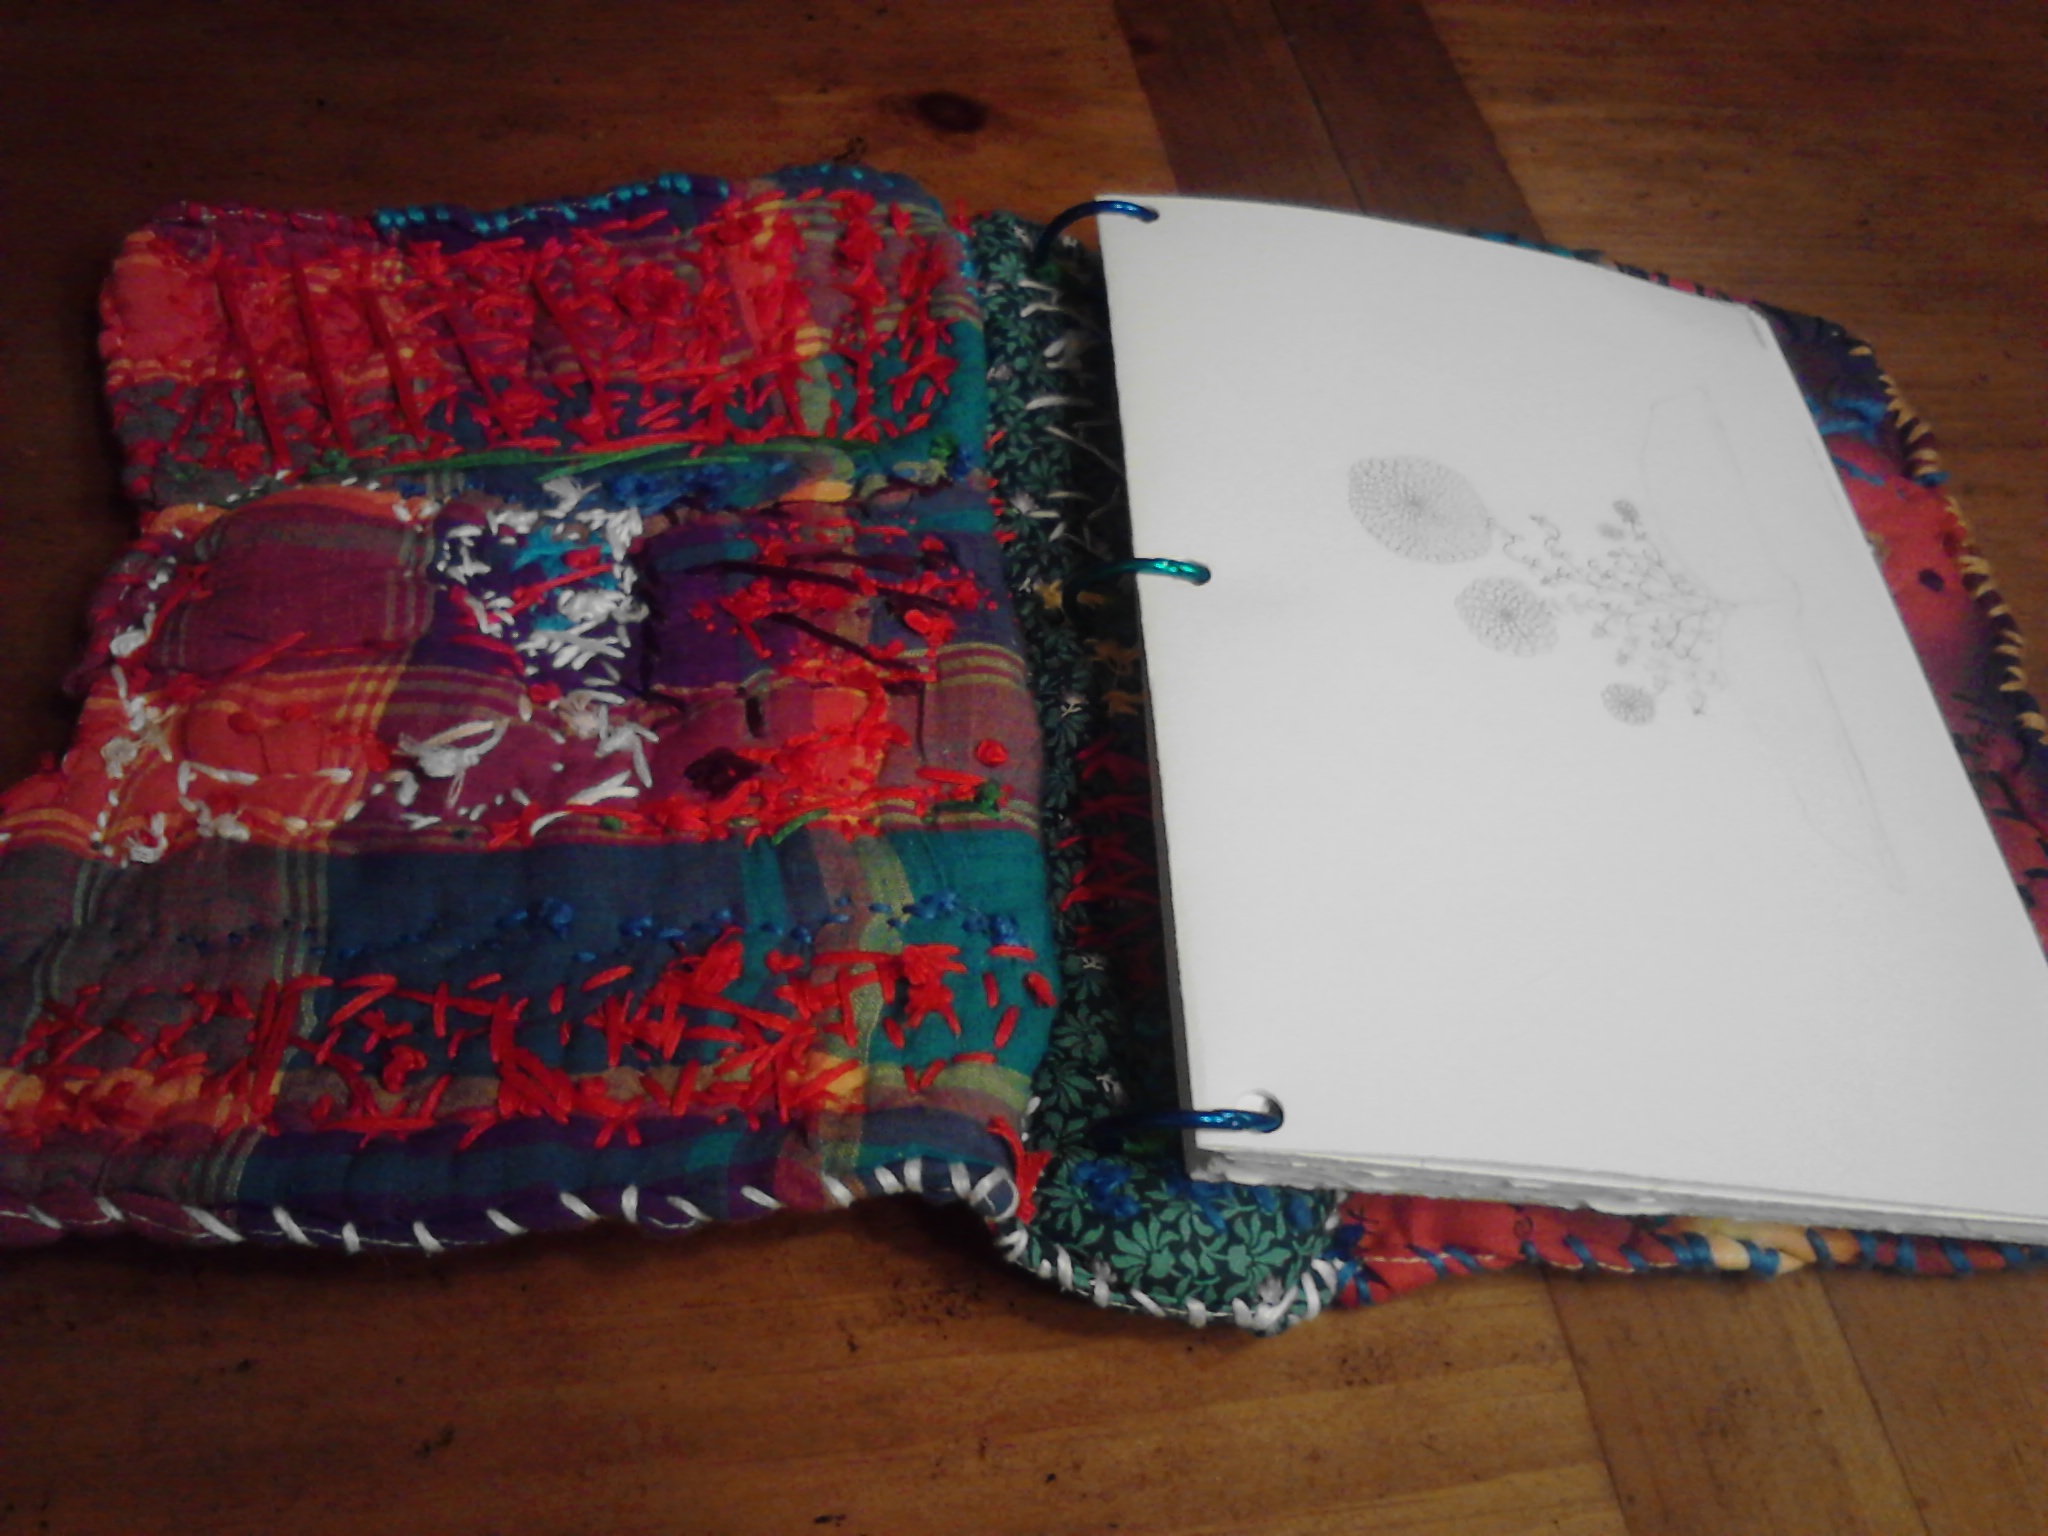 I again used the rings for hers so that she could remove the pages and add more later if she wanted to. As you can see, the insides are a bit messy looking, because you can see the backside of the embroidery. The concept behind these books, is to use fabric in colors that is completely random and not the normal colors or patterns a person would typically choose. This was a challenge for me, since I like everything to be perfectly organized when I work on a project. It was quite freeing to work on these journals, knowing that they were suppose to be a hodgepodge of various fabrics and colors. It’s the first time I ever made something that didn’t have to be perfect, and I think that is one reason why I love my journal so much. It didn’t stress me out to make it!
  Here is the final look inside my journal. I hope this update gave you a more detailed look at what it takes to make one of these. If you have further questions, please let me know. I would love to help you design your own journal. So if you are interested in the help, just let me know. If you want to view the original post about these journals, go here.


Thank you.
I should go and explore!
LikeLiked by 1 person
Interesting!
That is unique and beautiful.
Your sister is a great artist, just like you and your lovely daughters.
All the best, ❤
LikeLiked by 1 person
Thanks! If you want to follow her blog, you can find her at: http://365artjournal.blogspot.com/
LikeLiked by 1 person
Meanwhile, is this form of art, traditional?
I mean is it a hand craft of the women and girls of your region?
LikeLiked by 1 person
No this isn’t a traditional craft. In fact, this is actually my sisters own design that she created.
LikeLiked by 1 person
So colorful and beautiful.
I learned and enjoyed a lot.
Dear Amy is so creative.
I love and adore your beautiful and unique art.
All the best, ❤
LikeLiked by 1 person
Glad this was useful and thank you!
LikeLiked by 1 person
Thank you for adding this to the original post! Yay! Step by step :))
LikeLiked by 1 person
You’re very welcome! If you decide to make one, let me know if I can be of assistance! Also, I would love to see a picture of your completed journal. 🙂
LikeLiked by 1 person
Ok! That sounds great :))
LikeLiked by 1 person
This is too awesome! I love this!
LikeLiked by 1 person
Thanks! They’re really fun to make. 🙂
LikeLiked by 1 person
M
This is a perfect once a week art/project post. People can learn from you and you relax and spend times making goodies with the kids. Who knows what’s next. You could go to Kindle, IPad Mini and on from there, that would be so cool. That’s would really set people apart and take pride in making the cover.
Something to think about. You did a great job of explaining how to which is what people need.
Hugs
M
LikeLiked by 1 person
Thanks M! I really appreciate the feedback. Yes, I wouldn’t mind teaching a class on how to do this. Brianna was 11 when she made hers and Amy was 16. So really, even younger kids can learn to do this. Brianna even told me tonight that she wouldn’t mind making another one.
LikeLiked by 1 person
It may be a good outlet for kids feel on the outside or ADD. I don’t know much about ADD but have heard having projects they like keeps them focused. There are many of my readers who’s kids would fall in to the category. I love the idea of special mom and kid time.
I can’t wait to see what you do next.
M
LikeLiked by 1 person
Yes definitely!
LikeLiked by 1 person