Prom… this time of year?

IMG_4079I know I’ve been elusive lately, so I decided to share my day.  Here’s a snapshot of what I was doing this morning.  That’s right!  Taking pictures of my daughter Amy who was celebrating prom in her own way today.

IMG_4061

Since we homeschool, our kids don’t have the same opportunities to go to dances and regular high school functions.  This didn’t stop my daughter from arranging her own mock prom though; and she had quite an exciting day.

IMG_4083

When the two arrived home from shopping and dinner, they were surprised to find a huge fireworks show going on just behind our house.  I guess somebody knew it was their day!  She is all grown-up… I’m feeling a bit sad that she will be leaving for New York next month.

IMG_4092My second baby is leaving the nest and I will miss her more than she probably even knows.  Life is short… enjoy your children while you can, they grow up way too fast!

Field Trip to Old World Wisconsin

IMG_0164

IMG_0051My family and I recently visited Old World Wisconsin, which is located in Eagle, Wisconsin. IMG_0054  It just happened to be the first day that we hadn’t had rain in weeks, and the weather was perfect!

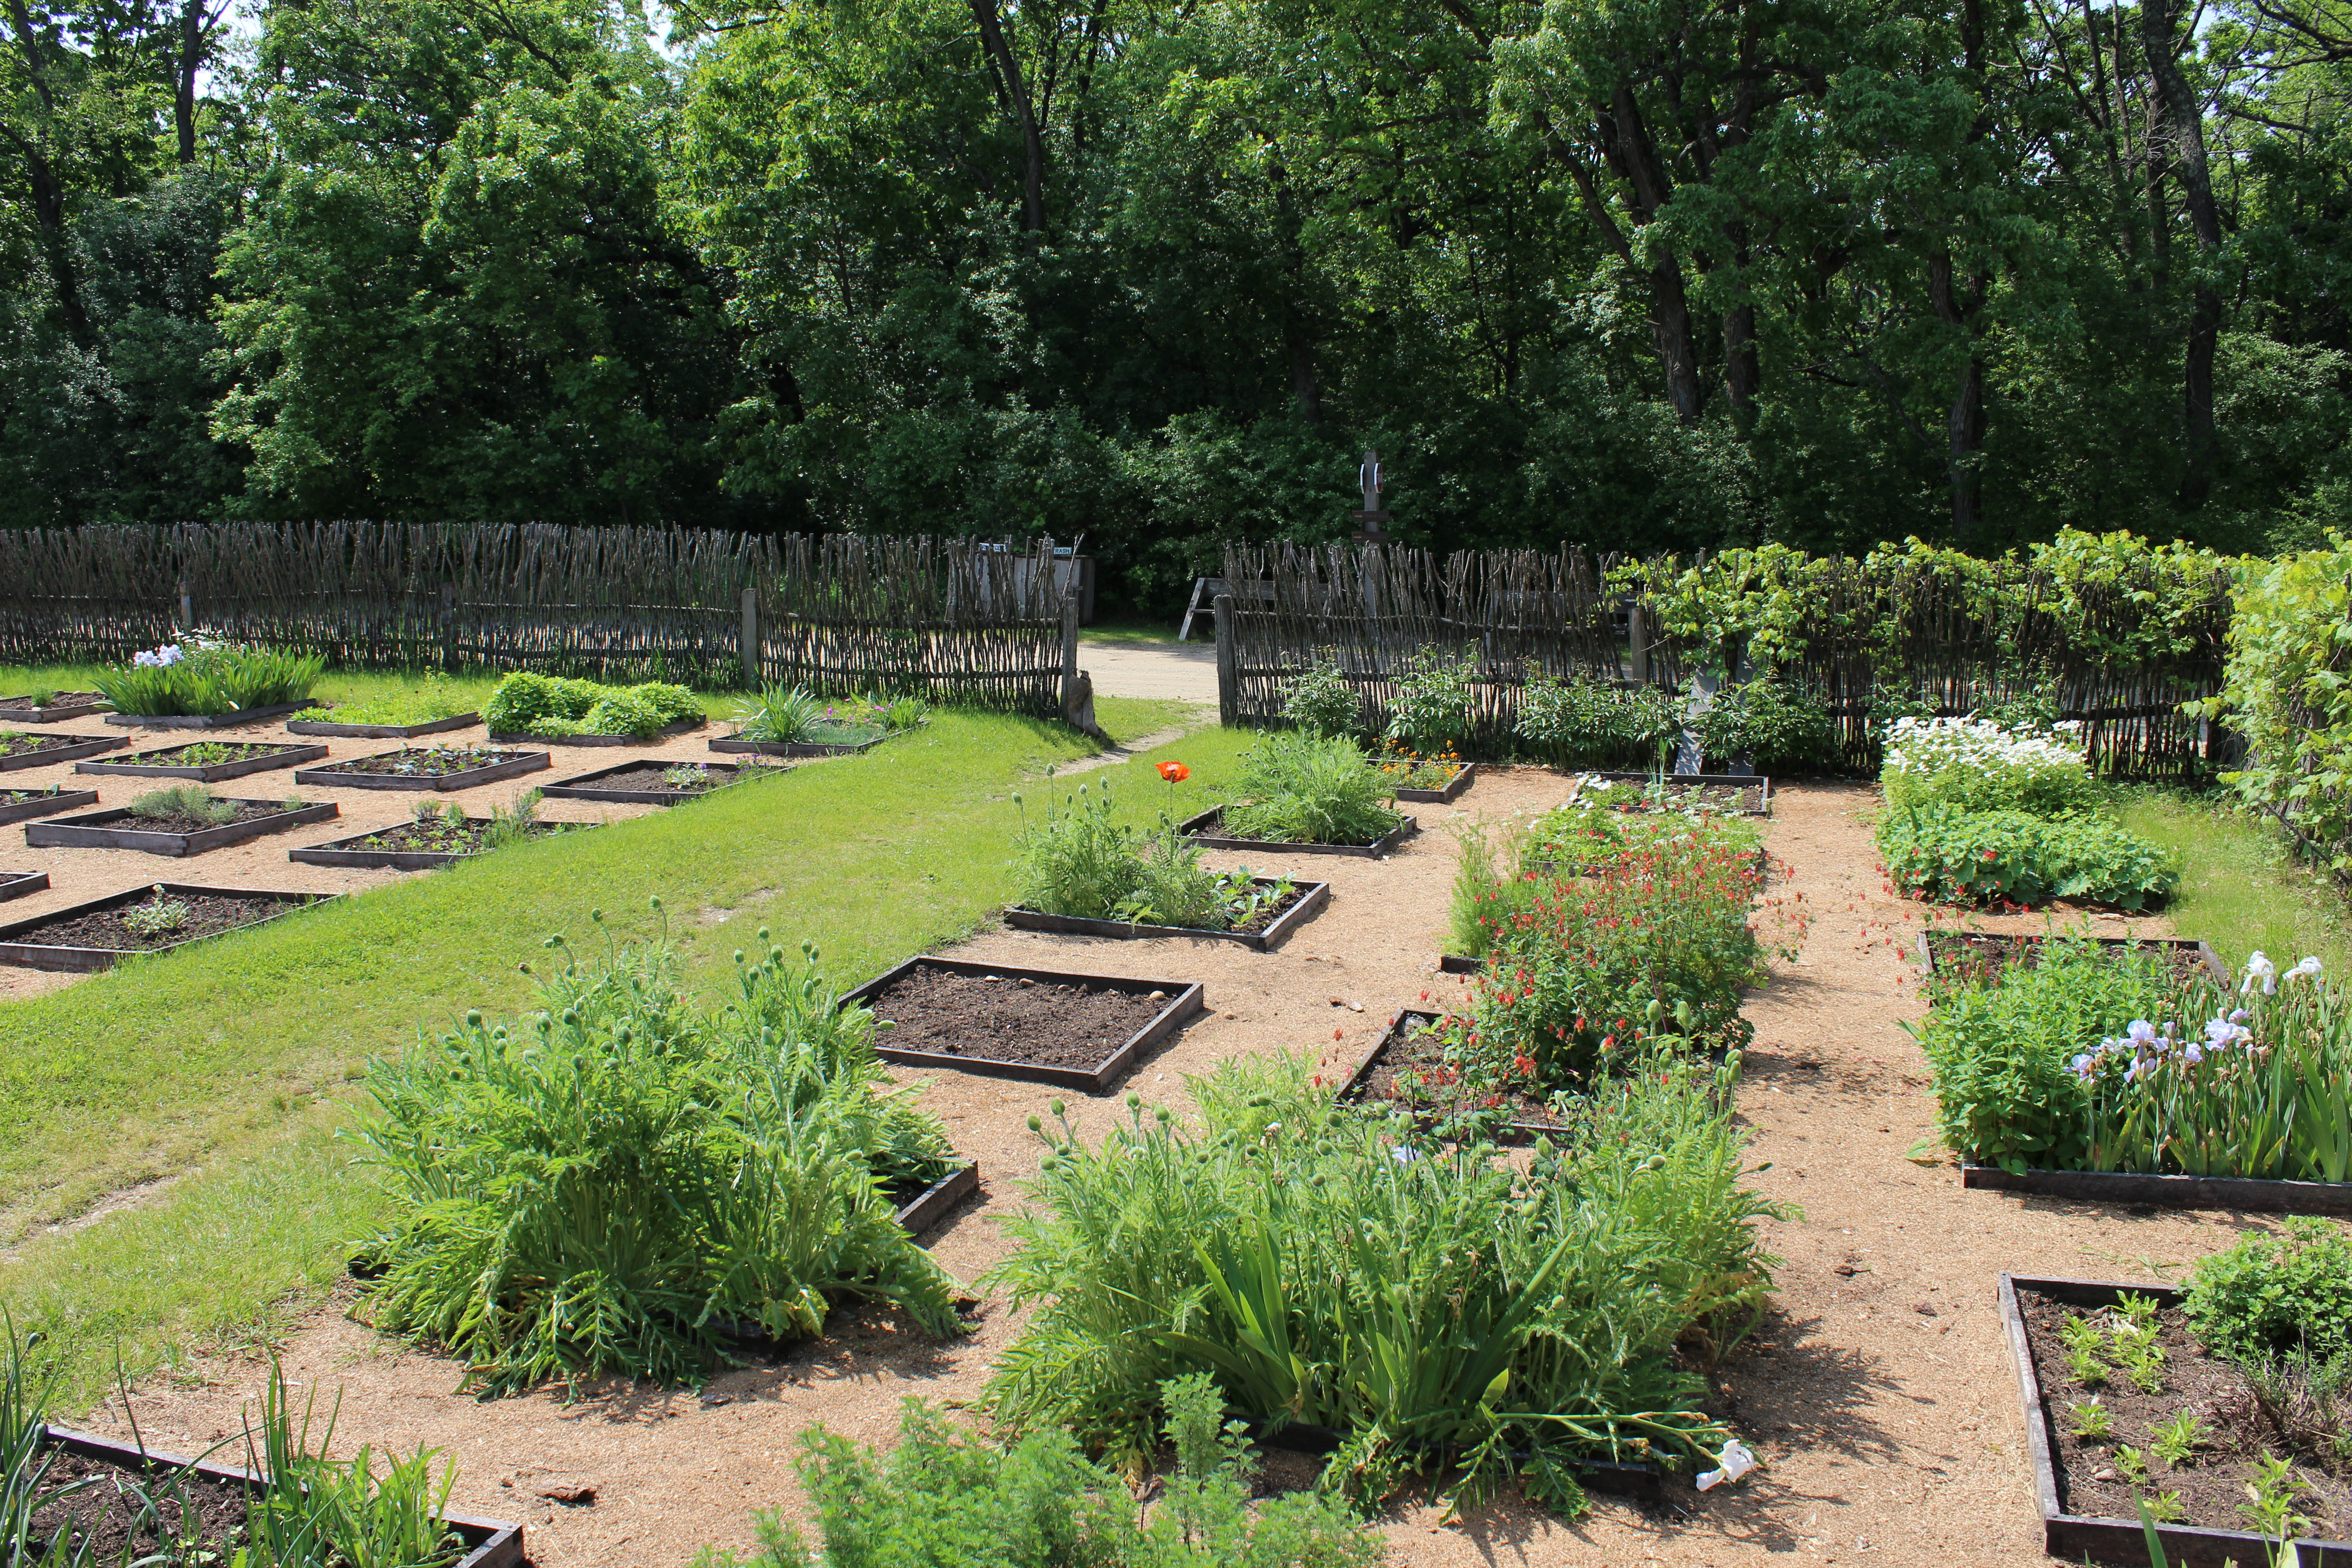
When we first arrived, we were ushered to the gift shop to pay the entrance fee and receive our map.  Then we proceeded to the tram which took us to our desired location. IMG_0012                                                       Old World Wisconsin consists of many historical buildings that are situated on 600 acres.  The historical site is broken down into different ethnic farms and villages.

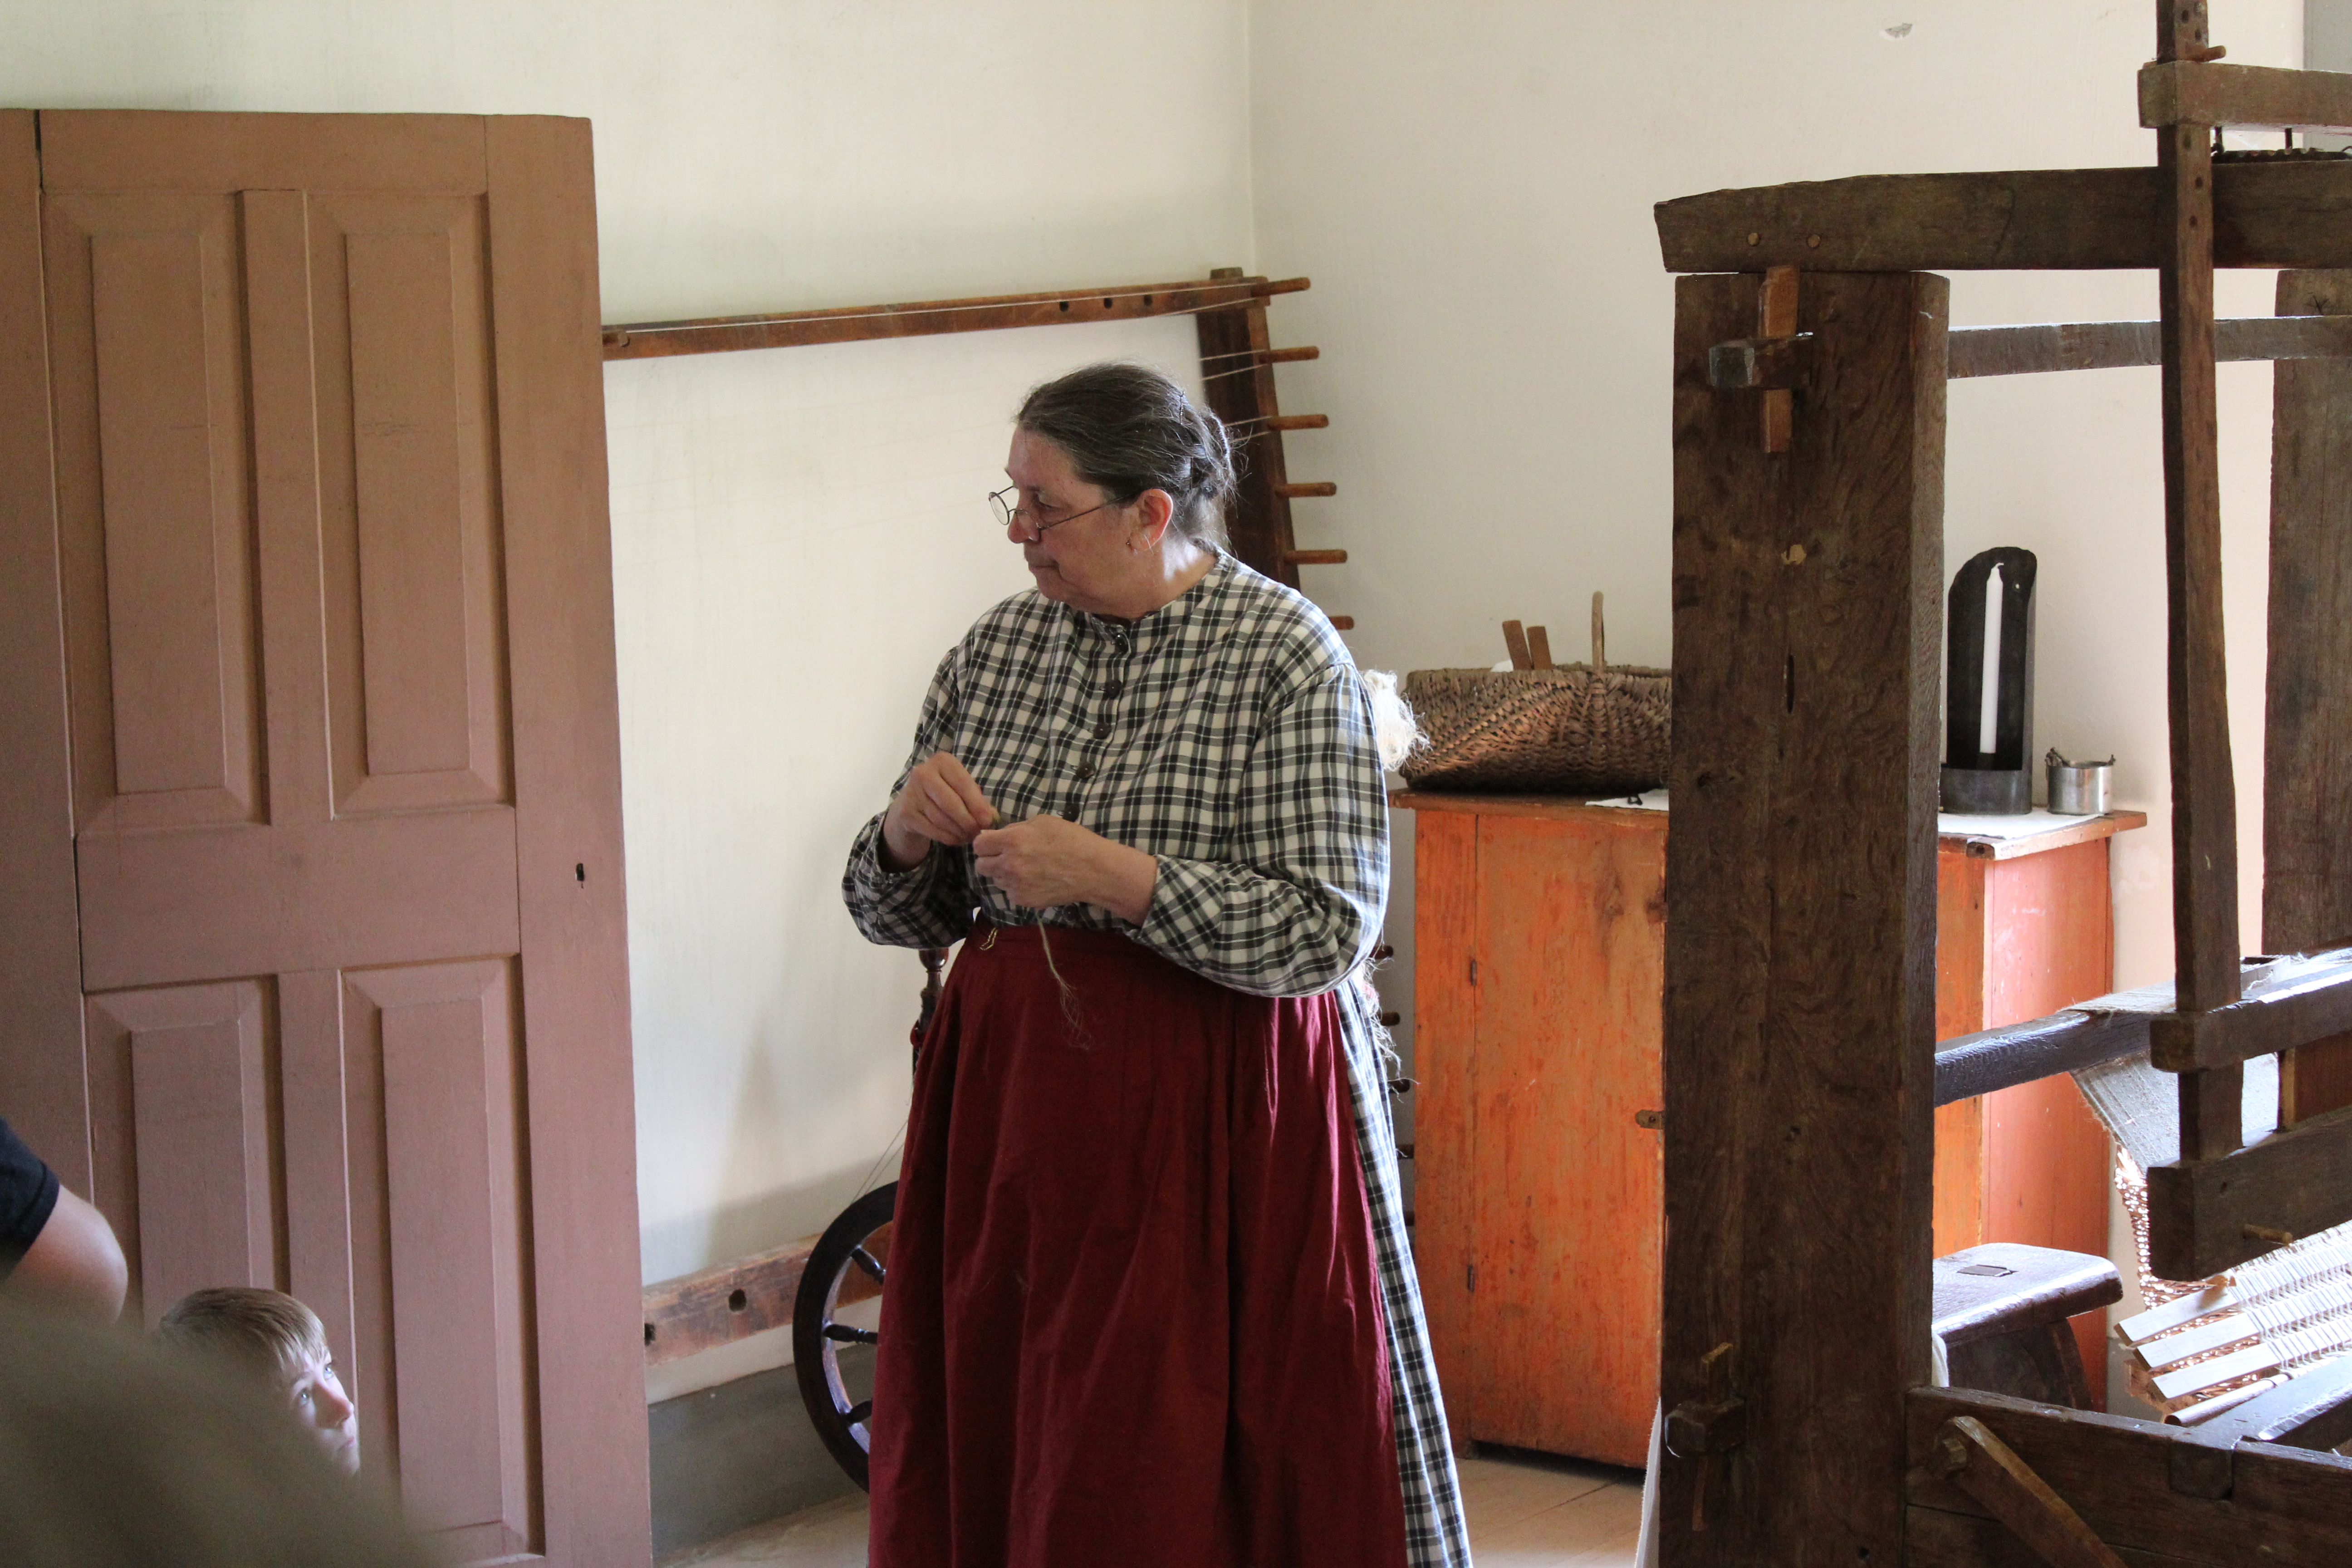
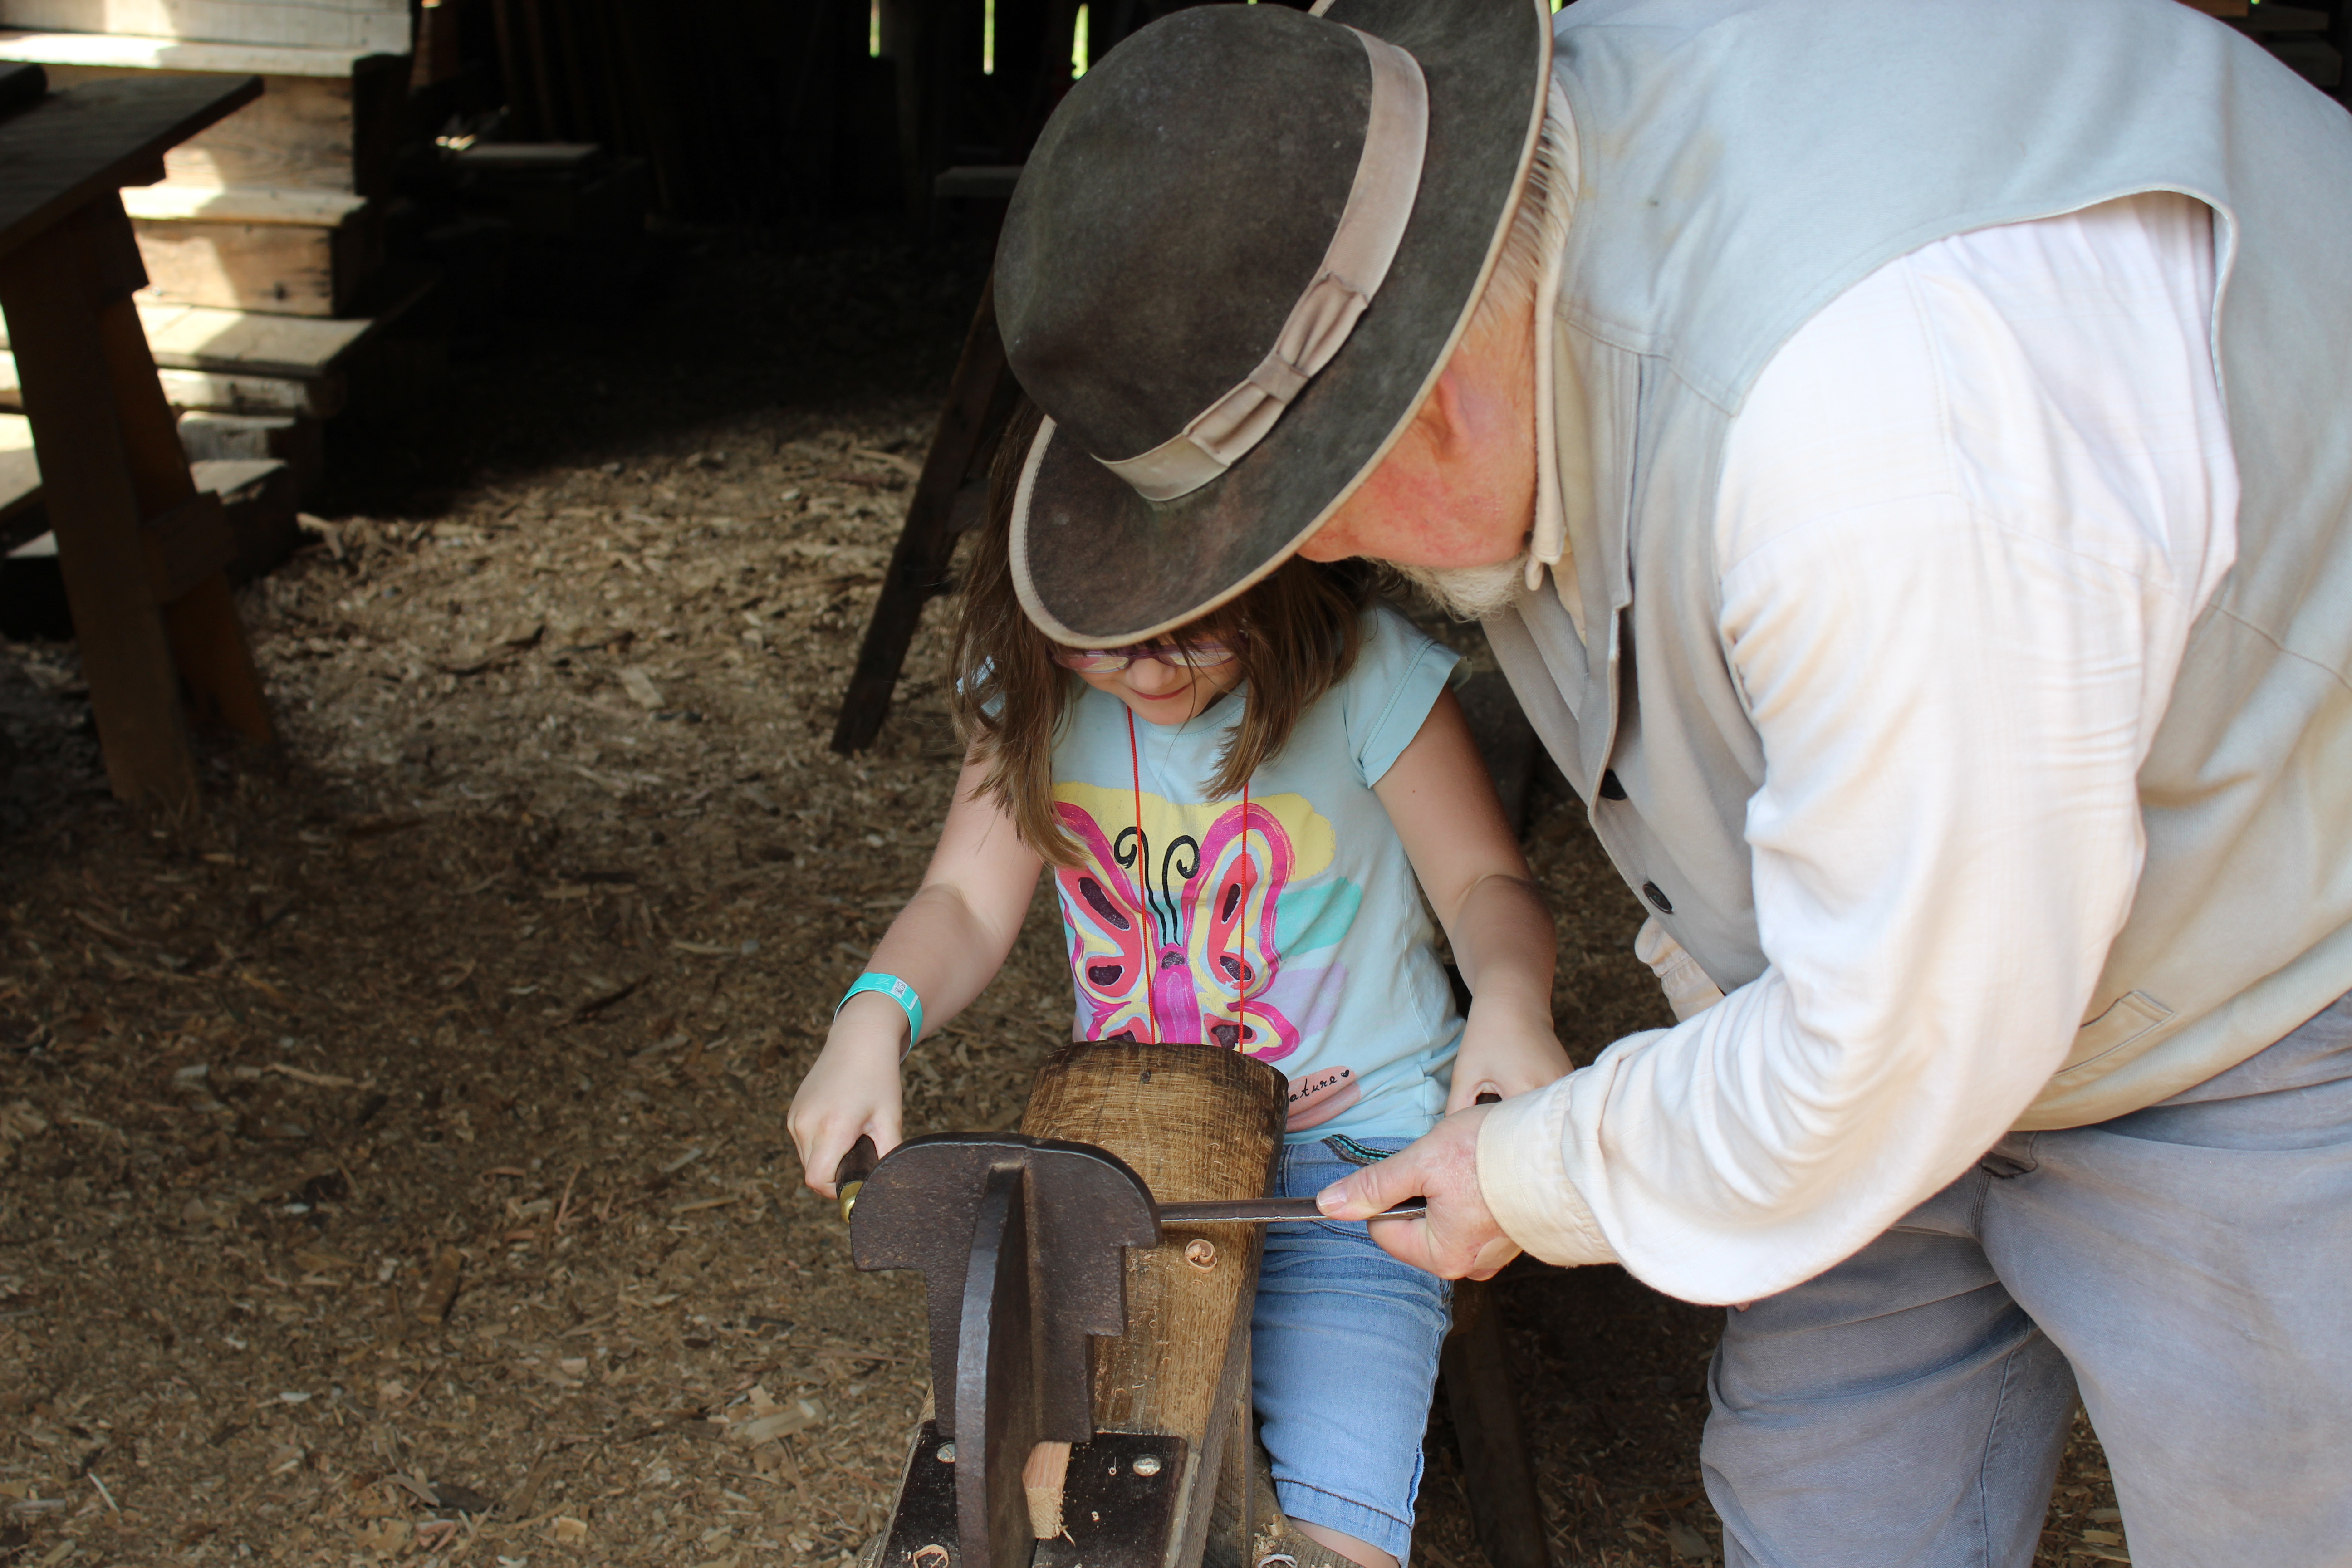
The first stop we made was to the German and Polish farms. IMG_0013  We had fun spinning flax into thread.  We also took a tour of the woodworking shop, where we got to use some woodworking tools which were originally used in the 1800’s. IMG_0039

After that, we made our way back to the tram and headed over to the Clausing Barn Café; where we enjoyed an all-American meal of hamburgers, chicken strips, brats, and grilled cheese sandwiches. IMG_0090

After we finished our meal we decided to walk to the 1880’s Yankee village and proceeded to explore the town. IMG_0106  We learned how to wash laundry on an old washboard.

We visited the blacksmith to learn how to make horseshoes.  We even shopped in the general store, where we bought Earl Gray tea, a hand-made wooden fan, and a small chalkboard. IMG_0147

Finally, we decided that it was getting late and we knew that the site closed at 5 p.m.; so we walked over to the Caldwell Farmers Club Hall to play some last-minute games; and peddle a reproduction tricycle around a small track.  On our way out, we headed back to the gift shop and bought some beverages for the road.  IMG_0161
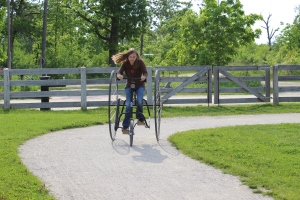
We had such a fun day, and we look forward to going back again soon.   We only visited about half of the villages before we had to go, so we are looking forward to another trip back soon to see the remainder of what we missed.

To get more information about Old World Wisconsin, go here.
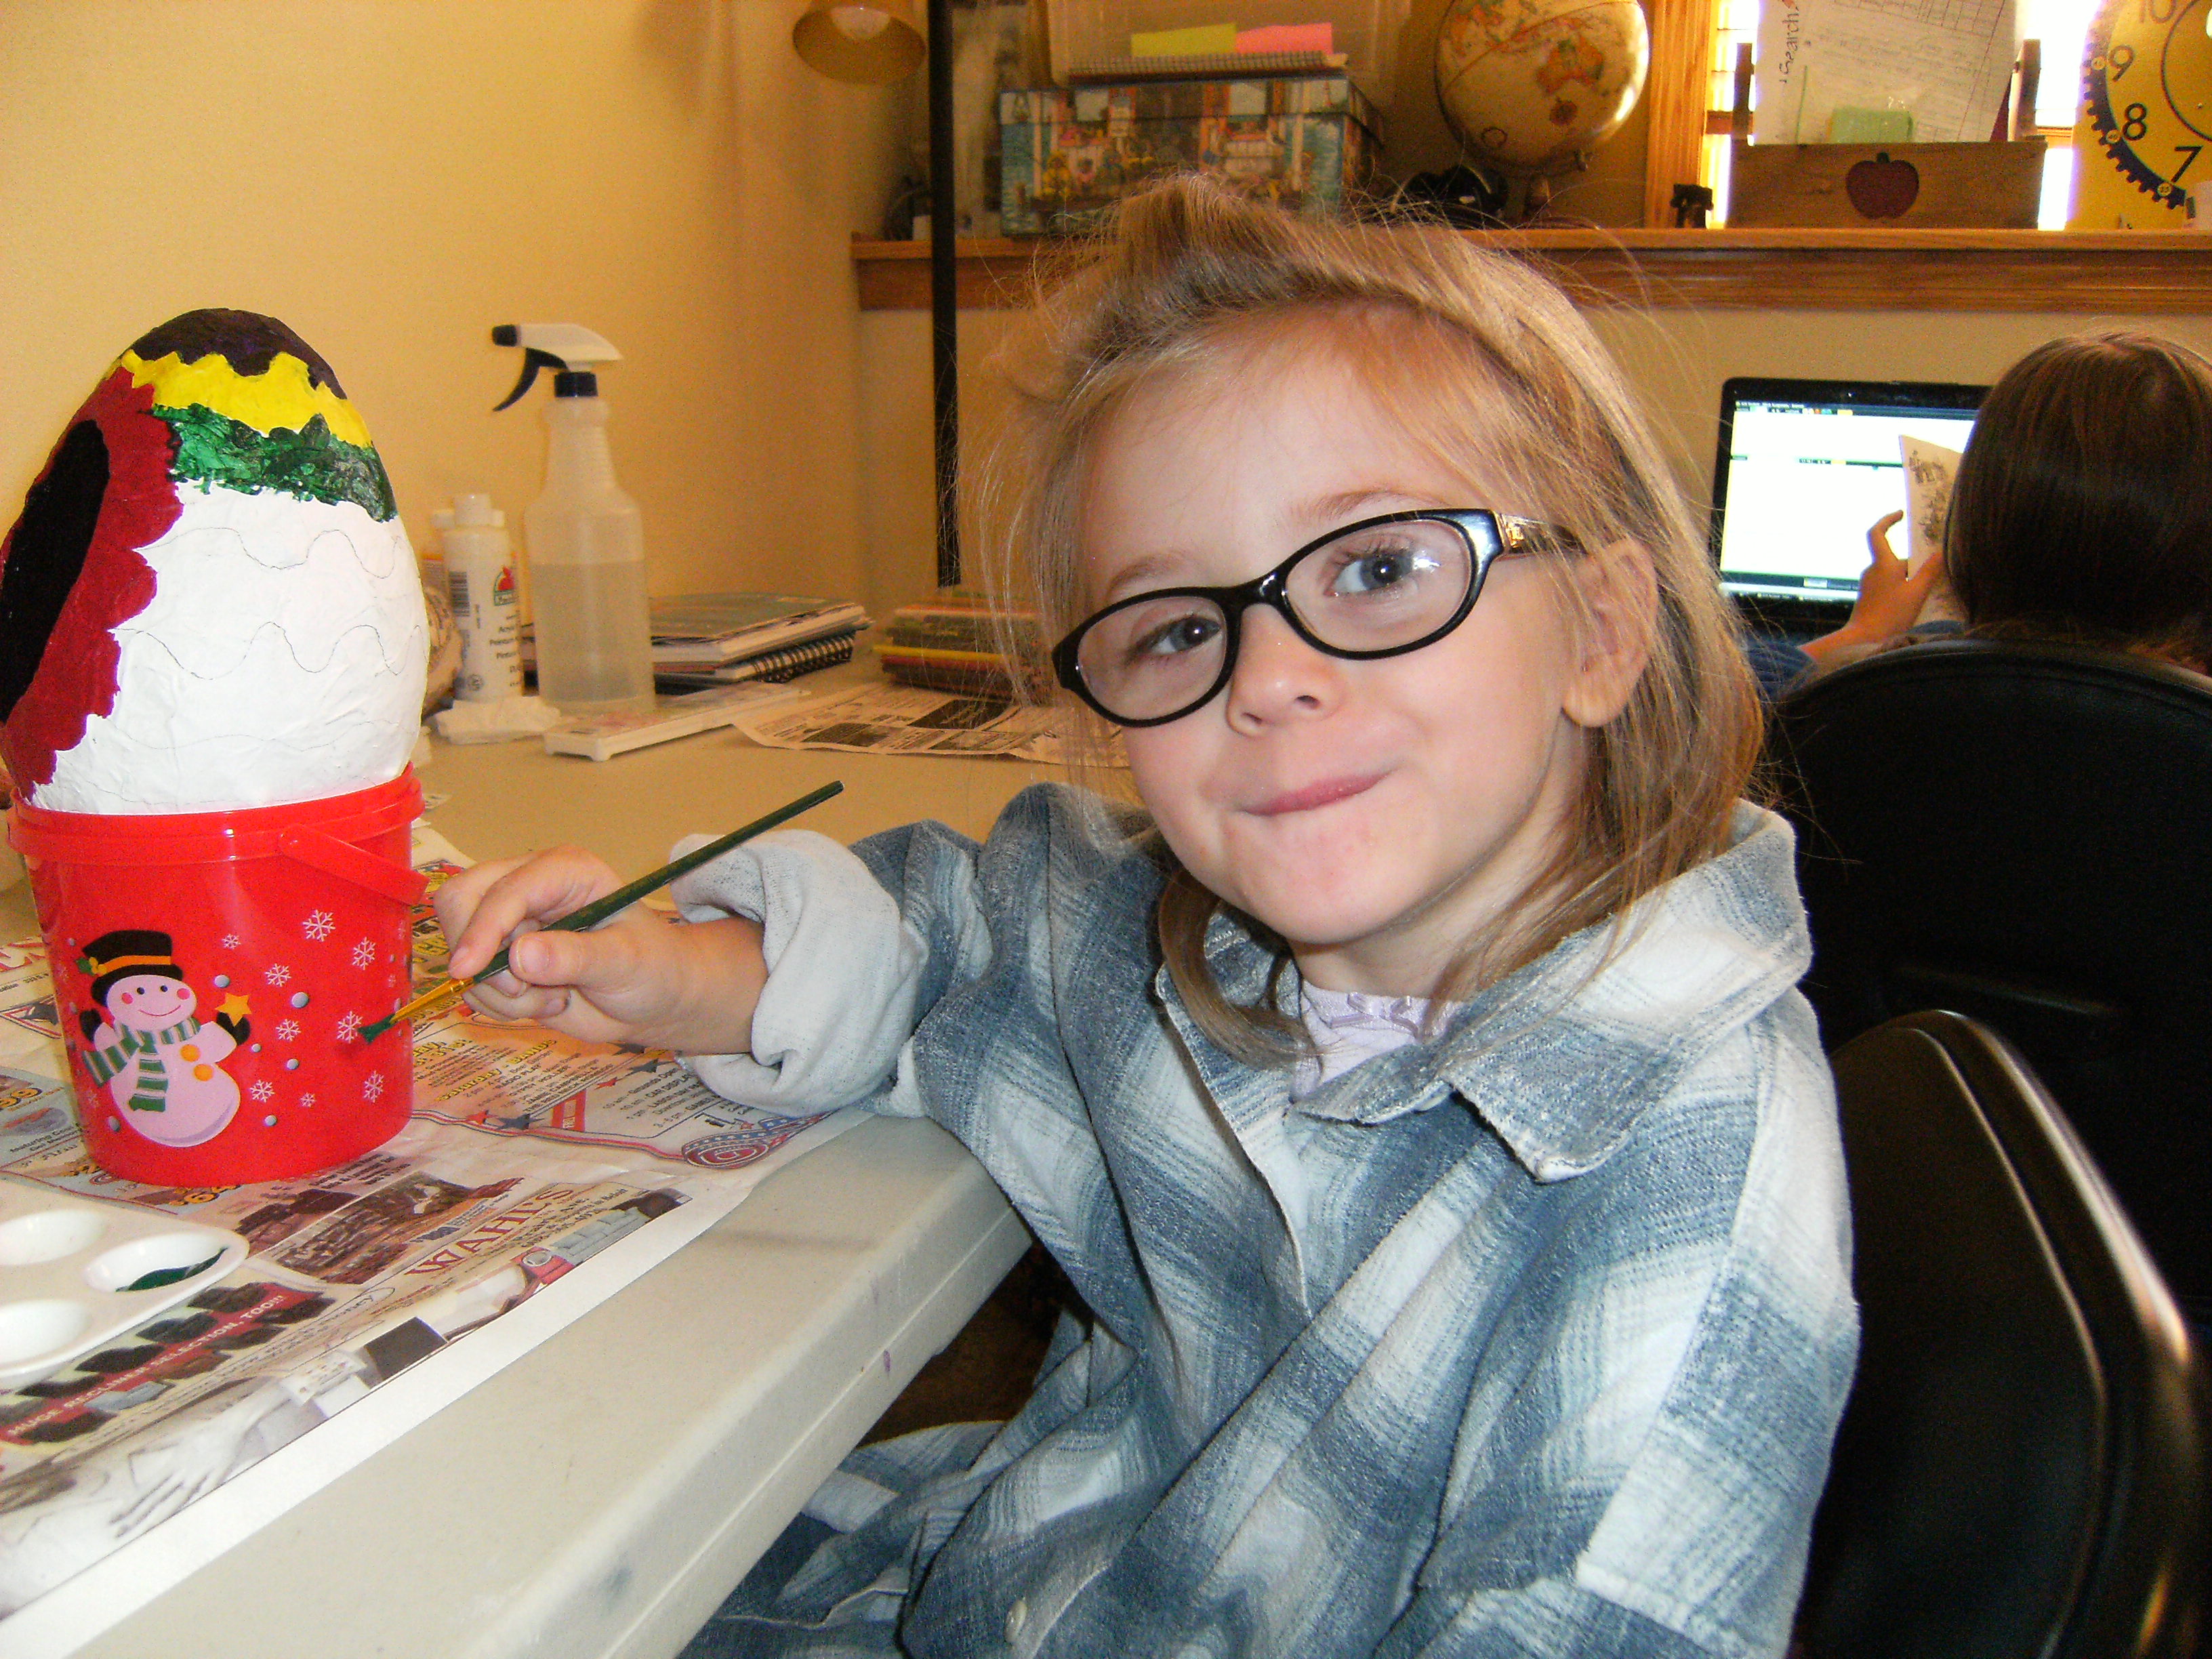
Our Latest Adventure

Just wanted to share our most recent trip to the park with all of you.  It was quite muddy that day, but at least there weren’t too many bugs lurking about.  We had a blast despite ending up with mud caked to the bottom of our shoes. 🙂

Monroe 7This was the start of the path leading into the woods from the children’s play area.  Every time I see a path like this, I feel inspired to write something  about it.  The woods were so tranquil and quiet.  The only sounds that could be heard were the faint rustle of the leaves in the wind and the birds merrily singing nearby.

Monroe 5Along the path, we spotted this tree off in the distance.  I wanted to get a closer look, but it was so far off the path and with the ground being so muddy, this is as close as I could get without getting stuck forever!  I wonder if an animal lives here.  It sure seemed like a cozy little place to snuggle up and take a nap.

Monroe 4These plants to the left, covered almost the entire forest floor.  Not sure of their name.  They were about 3 ft. tall, with tiny white flowers at the tips, and because of their height, it made it impossible to veer off the path too far.

Monroe 1Here’s a better view of the flowers that were perched at the top of each plant.  Like I said, I am not sure what these were, but they were a beautiful sight for sure!

Monroe 9   The trees didn’t quite have all of their leaves yet, so you could really get a good view of the entire forest and all of it’s hidden secrets that laid scattered about.  I enjoyed watching the butterflies fluttering by, and my girls were looking for curious things to collect.  I think the only thing we really collected though, was about 2 inches of mud on the bottoms of our shoes!

Monroe 11   This was the end of our journey through the woods and I decided to take a picture of the sun peering through the trees as we made our way back to the play area.  It is always hard to leave such a peaceful place behind and I felt a bit sad when we had to leave.  The good news is, that we can go back another day and have another adventure waiting for us once again!  I am already excited just thinking about it!

Handmade Art Journals (Updated)

For those of you who wanted a bit more information about how to make the art journals.  I have taken some pictures of the insides of all three journals.  Each one is unique in that we all wanted our journals for different reasons.  To begin, we started with sets of different scraps of fabric (the fronts and backs of the material didn’t match).  We sewed the sets of material together and left one side open for the stuffing.  It worked best for us to make the pillow for the spine of the book first, because then all of the other pillows could be adjusted to the size we needed for the overall book.  After stuffing each pocket, each one was made into a mini pillow.DMC floss  After all of the pillows were made, (mine had 17 pillows total) we embroidered each pillow the way that we wanted to, using unseperated DMC floss.  This is the longest part of the whole process, but it’s also the part that is the most fun, because you get to be really creative and make whatever patterns or pictures that you want on your pillows.  The next part goes pretty fast and involves sewing all of the pillows together in the order that you want them.  wpid-img_20150419_115721.jpgIt’s kind of like putting a puzzle together.  It took us several different tries before we got the layouts the way that we wanted them.  Once they were all sewn together, we ended up with this.  Then we proceeded to add the fun details, like snaps, buttons, ribbon, etc. to really make the journals our own unique creation.  wpid-img_20150419_192916.jpgAmy added snaps to her journal since she had some overlapping fabric that stuck out too far.  She ended up putting snaps on the front and the back and then added a ribbon to keep her journal securely closed.  Her little mistake actually enhanced the look of her journal and made it even better in the end.  I chose to used a button closure on my journal and Brianna decided to leave hers open and not put any type of closure on hers at all.  To finish, we added the paper to our journals.  Amy wanted to use her journal for writing, so we use lined paper for hers and sewed rings onto the inside spine to hold the paper.  wpid-img_20150419_193013.jpgI used heavy multimedia paper for mine, since I wanted to use mine for painting.  wpid-img_20150419_192705.jpgI decided to sew my pages into the spine by taking approximately five pieces of paper at a time, folding them in half, and then sewed down the middle of each stack to attach them to the inside.  I used an awl for making the holes in the paper before sewing them in and it worked beautifully!  Brianna chose a lighter drawing paper for her journal because she likes to draw.  wpid-img_20150419_192741.jpgI again used the rings for hers so that she could remove the pages and add more later if she wanted to.  As you can see, the insides are a bit messy looking, because you can see the backside of the embroidery.  The concept behind these books, is to use fabric in colors that is completely random and not the normal colors or patterns a person would typically choose.  This was a challenge for me, since I like everything to be perfectly organized when I work on a project.  It was quite freeing to work on these journals, knowing that they were suppose to be a hodgepodge of various fabrics and colors.  It’s the first time I ever made something that didn’t have to be perfect, and I think that is one reason why I love my journal so much.  It didn’t stress me out to make it!  wpid-img_20150419_192523.jpgHere is the final look inside my journal.  I hope this update gave you a more detailed look at what it takes to make one of these.  If you have further questions, please let me know.  I would love to help you design your own journal.  So if you are interested in the help, just let me know.  If you want to view the original post about these journals, go here.

Handmade Art Journals

wpid-img_20150419_120142.jpg

Today I wanted to share something a little bit different, than what I normally post.  There are so many beautiful artists on WordPress.  One unique artist in particular (Golnaran),  suggested to me that I share some of my artwork.  Art has always been a passion of mine, yet in recent days, I rarely spend my time doing any kind of art.  I have many things that I am passionate about and unfortunately I only have twenty-four hours in a day like everyone else.  In other words, some of my passions must be put on the back burner for another day.

Autumn painting a Christmas ornament.

For now, homeschooling my girls takes up most of my time, along with taking care of my two English Mastiffs.

However, since it was brought to my attention that others might be interested in seeing my artwork; I have decided to share a few things with all of you every now and then.  The following pictures are of some handmade journals, that my daughters and I created a couple of years ago for their home economics class.  My sister was visiting quite a few years ago and taught me how to make one of these.  And so of course, I fell in love with my journal and wanted my girls to join in the fun of making one for themselves.  I wish I had taken pictures as we went along so that I could have shared a tutorial with all of you.  If I decide to make another one, I will definitely capture the process the next time around so that if anybody wants to learn how to make one, I will be able to show you how.

Click on the images below for a larger view.

Amy’s writing journal

Brianna’s drawing journal

My painting journal